Date Originally Written: 13 April 2008
Author: Jason Gonzalez
This tutorial has relocated to this location as of September 2008. To see it in its original location, follow this link: www.jgpws.com/tutorials/photoshop/blueslate.html.
In this tutorial, we will create photo-realistic blue slate tile. This textured surface can be used as part of a 3-D scene in a video game or architectural simulation. We will make this a large size to avoid too much repetition across the texture.
Note: This tutorial assumes knowledge of the Photoshop 7.0 workspace.
- Next, we create a New Layer. On the new layer View (menu item) Rulers, right click the rulers in the drawing space, select Pixels. It is a good idea to zoom in about twice and place two guides 144 pixels in vertically and 144 pixels down horizontally. Then by eyeballing, we place two more guides in between the center and outer edges of the drawing space (approximately 72 pixels in from the outer edges). Also place guides in the rightmost and bottom areas near the edges but not touching them. It is pictured below:
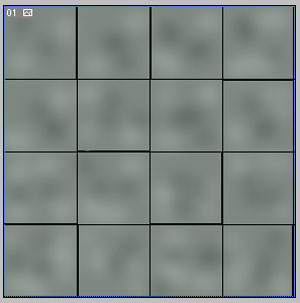
- Using the Pencil tool at 1px and color black, we will draw a line horizontally and vertically along the guides. We do not draw any lines along the very top or left sides as the right and bottom lines will repeat the pattern. To give the lines a more tiled look, we’ll uncheck Snap to Guides, and draw more lines directly next to a few edges. We must hit the shift key while drawing the lines to create a straight line. It is also a good idea to uncheck Show > Guides. The look is shown below:
- Clicking on the bottom most color Layer, we next will apply the Dodge tool with a Brush size of 35 soft and Exposure set to 50% to lighten some of the areas. Click very lightly as we are going after a subtle look
- Then we apply the Burn tool to other untouched areas with the same brush settings as above and also clicking lightly. What the drawing looks like thus far is pictured below:
- We can now apply the Palette Knife filter with these settings: Stroke size: 30, Stroke detail: 3, Softness: 9. It is a good idea to vary these settings dependent on the intensity of the Dodging and Burning
- Add Noise; Amount: 2%, Gaussian and Monochromatic
- Filter > Distort > Glass. Distortion should be set to 4, Smoothness: 7, Texture: Frosted, Scaling: leave at 100%


Rendering Red Slate tile with Photoshop 7 « JGPWS Tutorials
Oct 04, 2008 @ 22:39:59